In this article, I will guide you through the process of implementing rate limiting in your web application utilizing Vercel Edge Middleware and the @upstash/ratelimit library. The latter makes use of Redis at the backend for storage and management of rate limit data.
The Advantages of Using Vercel Edge
Vercel Edge is a computing platform that performs computations in the nearest locations to the user. I will be utilizing Vercel Edge Middleware, which intercepts requests before they reach the backend. I believe it is an ideal fit for rate limiting implementation for several reasons:
- It is decoupled from your backend, allowing you to block traffic at the edge location before it reaches the backend.
- It is fast and does not have cold start issues, resulting in minimal overhead.
- It is more cost-effective compared to serverless functions.
Why @upstash/ratelimit?
- The @upstash/ratelimit is a rate limiting library specifically designed and tested for edge functions.
- It supports multi-region Redis for optimal latency from edge locations.
- Upstash Redis is the only managed Redis that can be accessed from edge functions, thanks to its REST API.
With that said, let's begin the implementation:
Step 1: Redis Setup
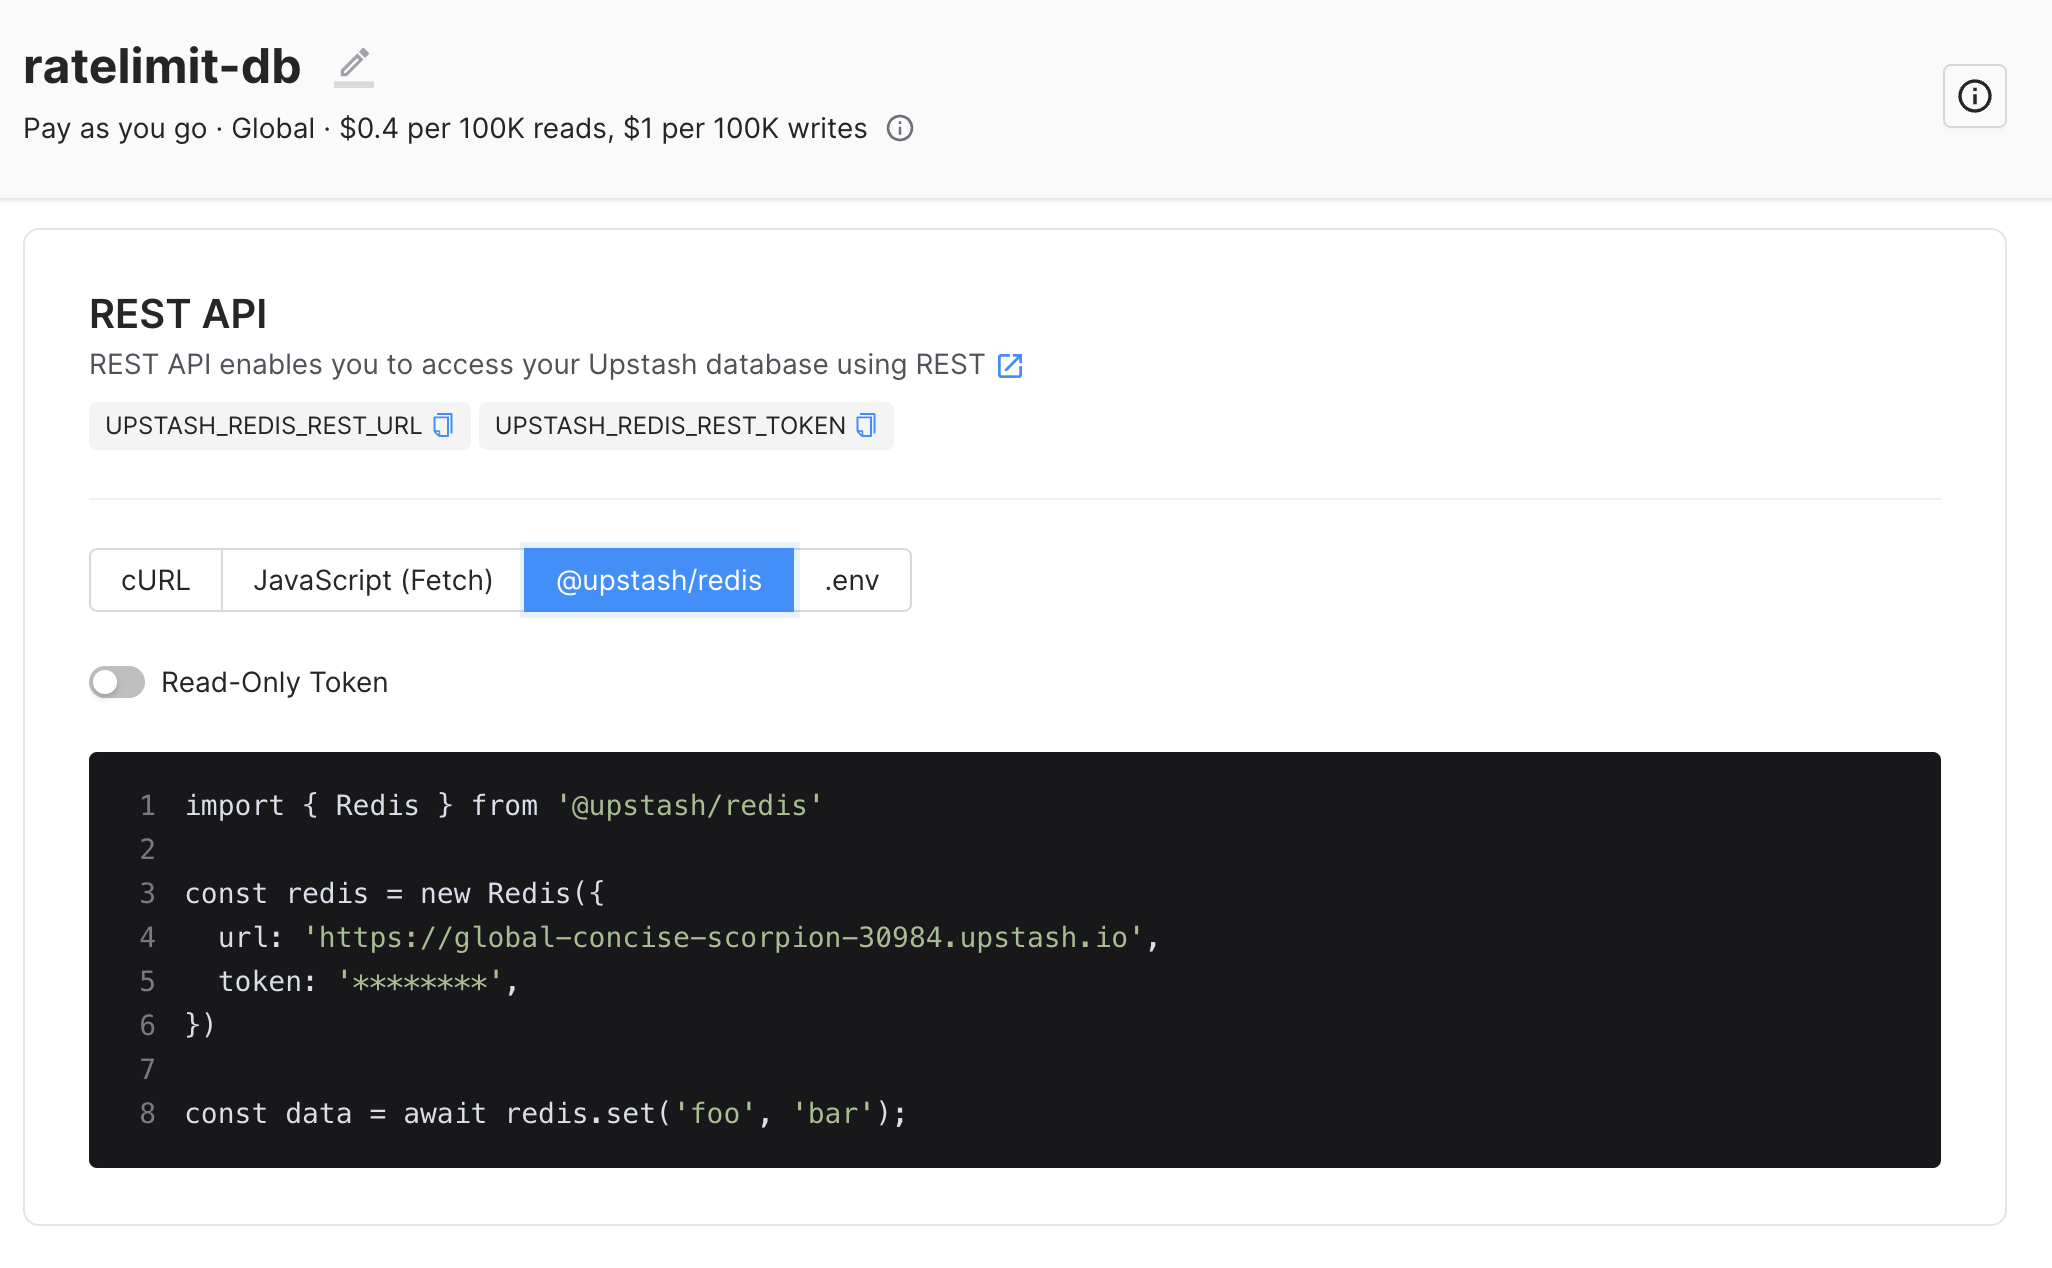
Create a Redis database on Upstash Console or Upstash CLI. UPSTASH_REDIS_REST_URL and UPSTASH_REDIS_REST_TOKEN will be needed for the next steps.

Step 2: Next.js Setup
Create a Next.js application. (Check this for other frameworks)
npx create-next-app@latest --typescriptnpx create-next-app@latest --typescriptInstall @upstash/ratelimit:
npm i @upstash/ratelimitnpm i @upstash/ratelimitCreate middleware.ts (top level in your project folder):
import { NextFetchEvent, NextRequest, NextResponse } from "next/server";

import { Ratelimit } from "@upstash/ratelimit";
import { Redis } from "@upstash/redis";

const redis = new Redis({
  url: "https://us1-merry-snake-32728.upstash.io",
  token: "AX_sAdsdfsgODM5ZjExZGEtMmmVjNmE345445kGVmZTk5MzQ=",
});

const ratelimit = new Ratelimit({
  redis: redis,
  limiter: Ratelimit.slidingWindow(5, "10 s"),
});

export default async function middleware(
  request: NextRequest,
  event: NextFetchEvent,
): Promise<Response | undefined> {
  const ip = request.ip ?? "127.0.0.1";
  const { success, pending, limit, reset, remaining } =
    await ratelimit.limit(ip);
  return success
    ? NextResponse.next()
    : NextResponse.redirect(new URL("/blocked", request.url));
}

export const config = {
  matcher: "/",
};
import { NextFetchEvent, NextRequest, NextResponse } from "next/server";
import { Ratelimit } from "@upstash/ratelimit";
import { Redis } from "@upstash/redis";
const redis = new Redis({
url: "https://us1-merry-snake-32728.upstash.io",
token: "AX_sAdsdfsgODM5ZjExZGEtMmmVjNmE345445kGVmZTk5MzQ=",
});
const ratelimit = new Ratelimit({
redis: redis,
limiter: Ratelimit.slidingWindow(5, "10 s"),
});
export default async function middleware(
request: NextRequest,
event: NextFetchEvent,
): Promise<Response | undefined> {
const ip = request.ip ?? "127.0.0.1";
const { success, pending, limit, reset, remaining } =
await ratelimit.limit(ip);
return success
? NextResponse.next()
: NextResponse.redirect(new URL("/blocked", request.url));
}
export const config = {
matcher: "/",
};Don't forget to replace your redis url and token. The code uses slidingWindow algorithm and allows 5 requests from the same IP in 10 seconds. If you have a property unique to a user (userid, email etc) you can use it instead of IP. If the request is rate limited then middleware redirects it to blocked page.
Let's create pages/blocked.tsx:
import styles from "@/styles/Home.module.css";

export default function Blocked() {
  return (
    <div>
      <main className={styles.main}>
        <h3>Access blocked.</h3>
      </main>
    </div>
  );
}
import styles from "@/styles/Home.module.css";
export default function Blocked() {
return (
<div>
<main className={styles.main}>
<h3>Access blocked.</h3>
</main>
</div>
);
}That's all! Now you can deploy the app to Vercel:
vercel deploy
Refresh the page, you should be redirected to the blocked page after 3 times.
Less Remote Call with Caching
It is not efficient to make a remote call with each request. A useful feature of the @uptash/ratelimit package is that it caches data as long as the edge function is "hot". This means that data is only fetched from Redis when the function is "cold", reducing the number of remote calls. Caching can be implemented by declaring the ratelimit object outside the handler function middleware.
Rate Limiting Algorithms
In the example above we have used the sliding window algorithm. Depending on your needs, you can use fixed window and leaking bucket algorithms. Check here
Multi Region Redis
It makes sense to have multiple Redis databases in different regions to improve the performance from edge functions. You can configure multiple region Redis as explained here
